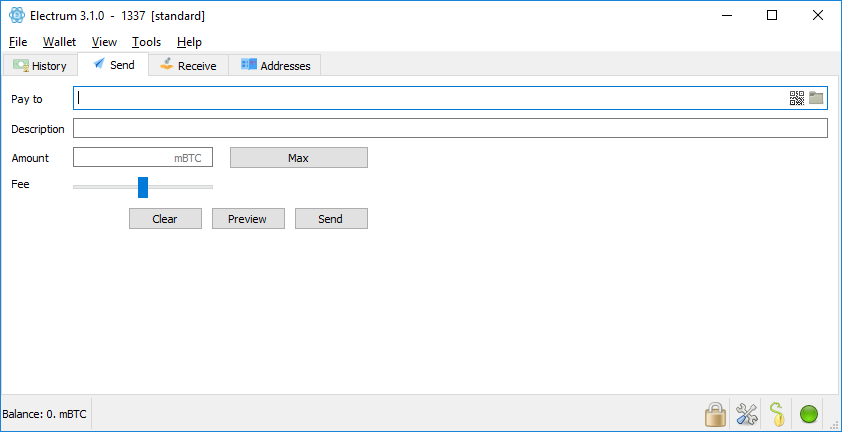
In this guide we’ll explain how to install and use the bitcoin wallet called Electrum. It is a frequently used wallet, much like the Jaxx wallet which we explain in our other wallet guide. This Electrum wallet guide is based on Electrum 3.1.0, and this specific version is only applicable to bitcoin, though there are many versions of Electrum made for many other coins.
Step 1
Electrum can be downloaded on the website of Electrum. Download the correct version for your operating system. For Windows, the stand alone executable or the installer are both fine.
Step 2
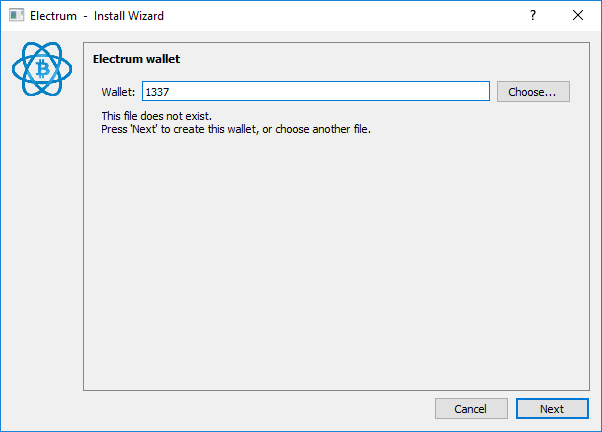
Execute the program or install it, and you’ll come to the following screen. Here you can create a wallet and name it.
Step 3
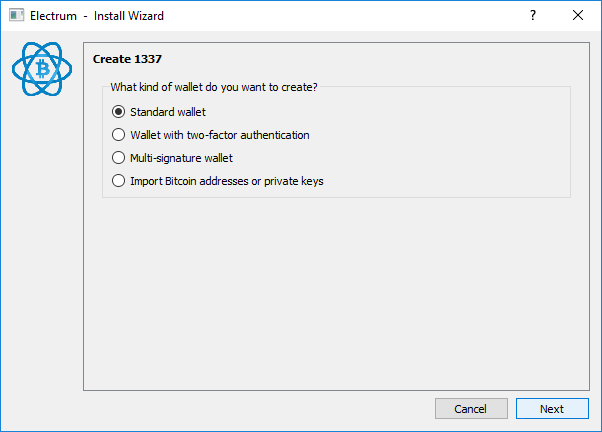
Indicate which type of wallet it should be. In this guide, we’ll choose ‘standard wallet’. If you’d like to use an existing wallet or address, then you can choose the option ‘import bitcoin addresses or private keys’.
Step 4
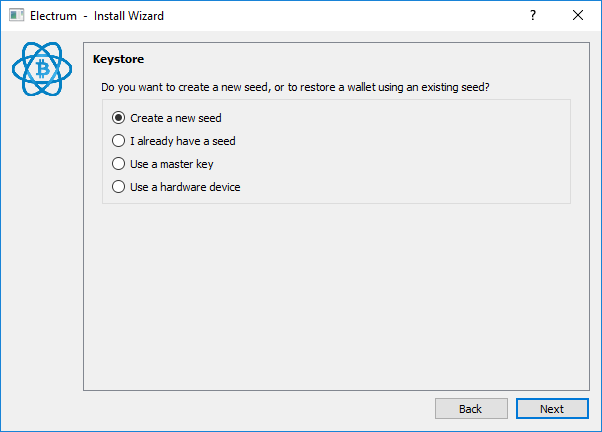
Now we have to create a seed. This seed is extremely important, because with this seed you can restore the wallet in case your pc crashes or some other mishap has occurred which disables you from reaching your wallet. During this step, you can also restore an old seed (‘I already have a seed’). In this guide, we’ll choose to create a new seed.
Step 5
We can now choose the type of wallet. In this guide we’ll choose the ‘Segwit’ wallet. A segwit wallet offers several benefits, like lower transaction fees.

Step 6
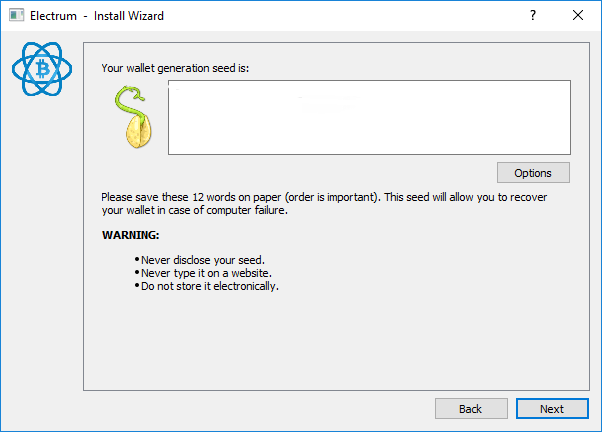
You are now shown a series of twelve words. It is extremely important that you save this series, for example by printing them. With this seed you can restore your wallet. Never hand this seed to anyone and store it safely.
Step 7
Now enter the seed to check it. If the seed is entered correctly, you can proceed to the next step.
Step 8
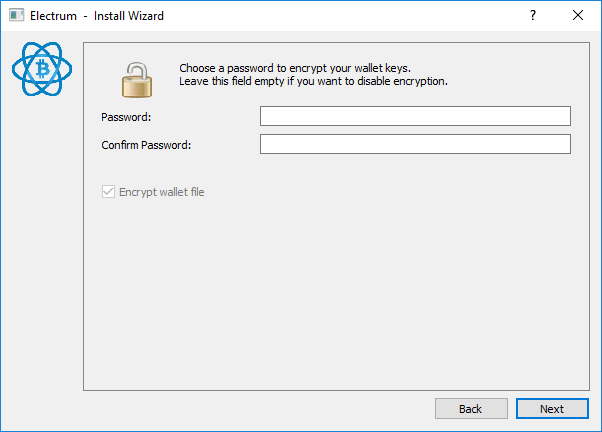
Choose a password to encrypt your wallet. This protects you from malware and other malignant forces.
Step 9
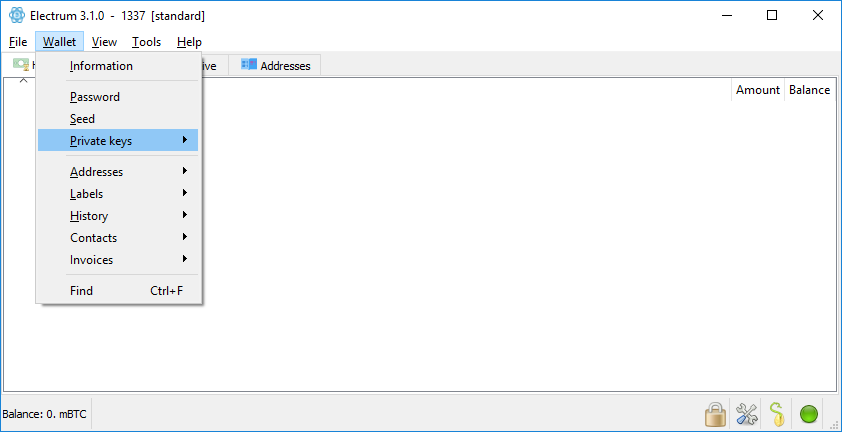
After the installation, it’s advisiable to export your private keys and store these safely. Your private key is the key you need to make a transaction from an address. Never give this key away and store it safely. You can export your key through ‘Wallet → Private Keys → Export.
The other option (‘Wallet → Private Keys → Sweep’) is to add addresses to the wallet by way of private key.
Step 10
Your wallet is now ready for use. There are four tabs: History, Send, Receive, and Addresses. On the tab ‘History’ you’ll find all transactions from and to your wallet. From the tab ‘Send’, you can send bitcoin and determine the fee. From the tab ‘Receive’ you can request a bitcoin payment with a QR code. On the tab ‘Addresses’ you’ll find all bitcoin addresses connected to this wallet.
