How to install and secure a bitcoin wallet? There are different wallets for different cyptocurrency, some of which are user friendly, but a lot them (sadly enough) are not. In this guide we’ll show how to installe the Jaxx wallet and how to use it. The Jaxx wallet is a commonly used Bitcoin- and Ethereum-wallet because it is user friendly and supports many cryptocurrencies. All your coins in one place!
Step 1
Download the latest version of the Jaxx wallet on Jaxx.io. In this guide, we will opt for the desktop version of Windows, not the Google Chrome extension.
Step 2
Use the installation file (executable) and you’ll be greeted with the latest release notes. On the bottom right, click ‘continue’.
Step 3
You’ll then see a screen with term and conditions you’ll have to accept. After reading, click ‘accept’.
Step 4
Now you have two options available; 1. Create new wallet, 2. Pair/restore wallet. Choose option 1, ‘create new wallet’ and click on the bottom right button, ‘continue’.
Step 5
You are now presented with the two options ‘express’ and ‘custom’. Choose ‘express’ and click ‘continue’ on the bottom right.
Step 6
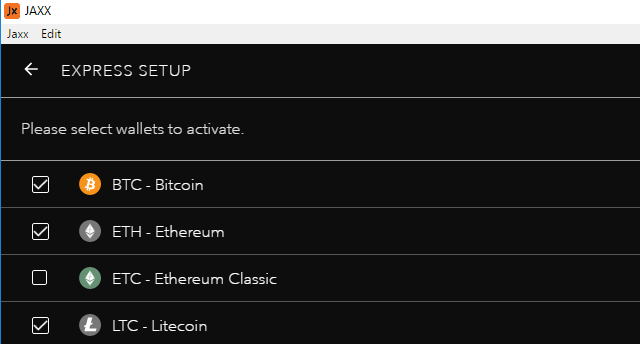
Now you can select which wallets you want Jaxx to support. In this example we’ll choose Bitcoin, Ethereum, and Litecoin, but this can be altered at any later moment.
Step 7
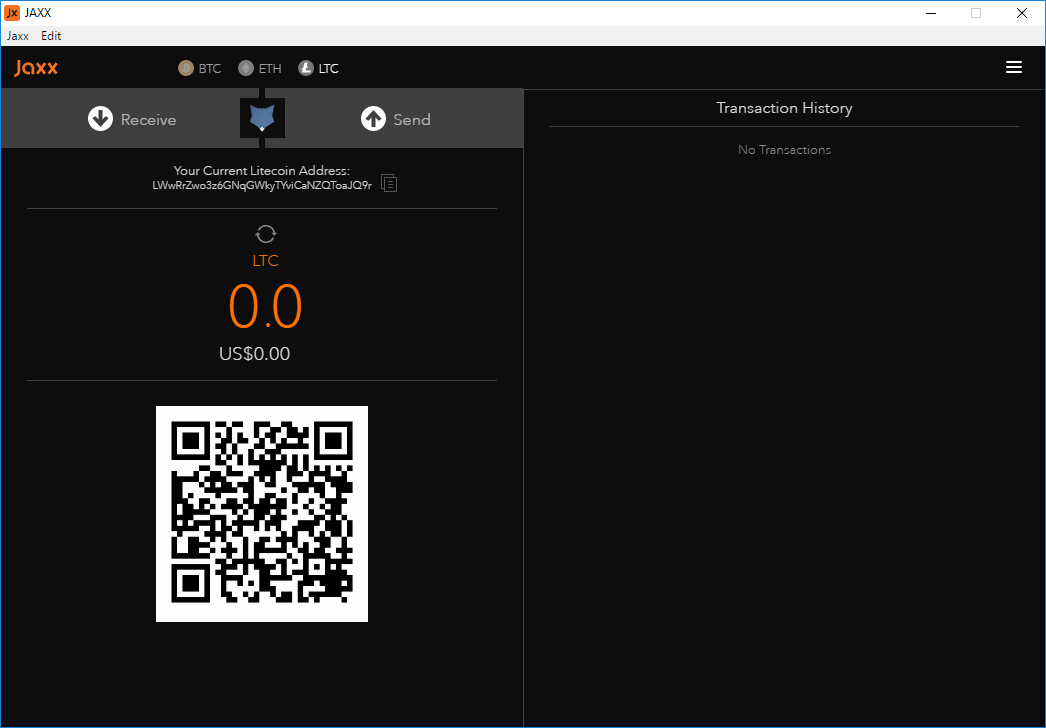
After your wallet is created, you’ll see the next screen. Here you can select which cryptocurrency wallet you want to open, and you’ll see the ‘send’ and ‘receive’ buttons for sending and receiving said currency. In each wallet you can see your current address on the blockchain of that coin; this is your ‘public key’. Now we’re going to secure your private key. Click on the menu button at the top right.
Step 8
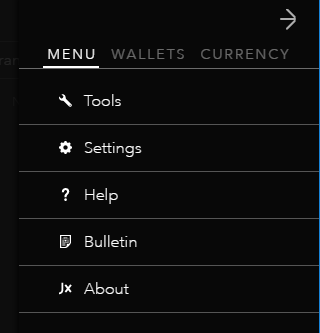
You’re shown the next menu. In ‘wallets’ you can add cryptocurrencies, and in ‘currency’ you can add fiduciary currencies such as the Euro or the Pound Sterling. For the next step, we’re going to click on ‘tools’.
Step 9
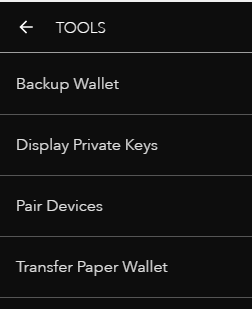
After having clicked ‘tools’ follows a screen with four optons. The first option ‘backup wallet’ is to backup the Jaxx wallet in its entirety. Through the option ‘display private keys’ you’ll see the private keys of all addresses of each coin that’s connected to your wallet. We advise you to go through both options and secure all information safely. Write your keys down or print them, and place these in a secure location where no one can reach them. With these keys, one has total control over the corresponding addresses on the blockchain, so secure these well!
Step 10
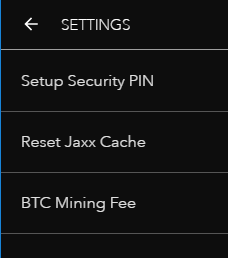
Now you have secured your keys safely, the wallet can be used. Open the menu at the top right and go to ‘settings’. Here you can set a pin code that has to be entered before making a transaction. This is to prevent someone from opening your wallet and making transactions. Set a pin code and remember this. After having done this, go to the option ‘BTC mining fee’. Jaxx is a wallet that automatically adjusts the fee for you. However, you can set it to ‘fast (high fee), ‘average’ (normal fee), or ‘slow’ (low fee).
Step 11
Done! You are now ready to send or receive a transaction. On the startup screen you can (at the top) select with which currency you want to make a transaction. By sending the right currency to the address shown underneath ‘send’ and ‘receive’, you’ll see this currency appear in your Jaxx wallet. Pay attention! Make sure you’re sending Bitcoin to a Bitcoin address and not to your Ethereum address, for example.
With the button ‘receive’, a new address will be made with a corresponding QR code, which you can send to someone who wants to send cryptocurrency to you.
